Ingredients
For the Pastry:
180g flour, if you have time up your sleeve, chill the flour in the fridge for an hour or so before you begin, it’ll yield flakier pastry!
1 tsp sugar
1/2 tsp salt
140g unsalted butter, cut into 1-inch pieces, cold (straight from the fridge)
1/2 tbsp apple cider vinegar or white vinegar
1/8 cup ice water
For the filling:
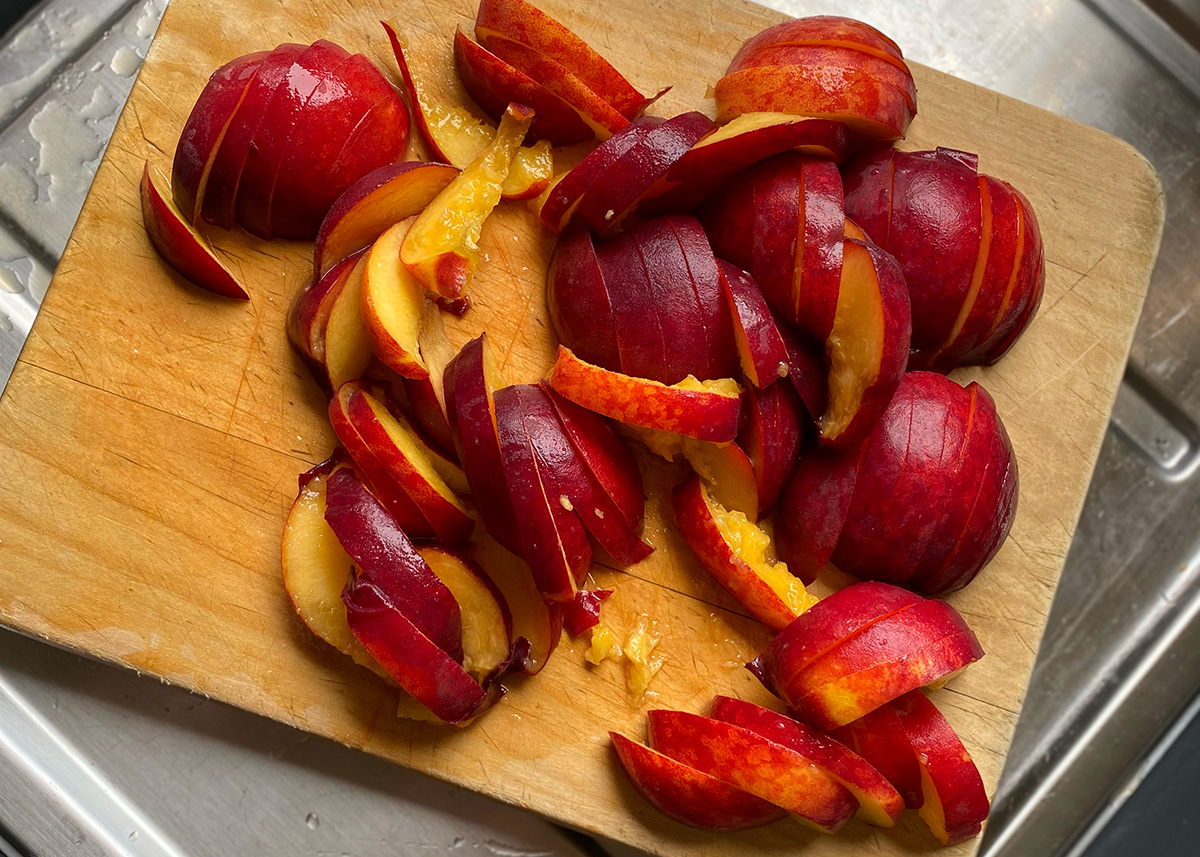
6 peaches or other stone fruit – about 560g, cut into roughly 1cm slices
1/3 cup caster sugar, if your fruit is on the tarter side bump this up to 1/2 a cup
2 tbsp corn flour
Zest and juice of small/med lemon
Finishing touches:
Egg wash: 1 small egg, whisked with a splash of water
2-3 tsp raw sugar mixed with 1/4- 1/2 tsp of grated ginger
Summary
Simple Peach Galette
In a large bowl, whisk the flour, sugar, and salt together. Add the cold butter and toss to coat it in the flour mixture. Using your hands, smoosh the butter between your fingertips, mixing it into the flour, creating long, thin, flaky, floury, buttery bits. Once most of the butter is incorporated and there are no large chunks remaining, dump the flour mixture onto a clean work surface. Combine the vinegar with the ice water and drizzle it over the flour-butter mixture.Run your fingers through the mixture like you’re running your fingers through your hair, just to evenly distribute the water through the flour until the dough starts coming together.Knead/smoosh the dough a few more times, we do this by drawing it all together, dividing it, then stacking one pice on top of the other and smooshing it down. We do this a few times as it helps with lamination. Once you’ve got a shaggy mass of dough (it will not be smooth and it certainly will not be shiny), form it into a flat disc, about 1 inch thick. Wrap in reusable sandwich bag or a reliable air tight container and refrigerate for at least 2 hours or up to 3 days.
After the dough has firmed up, roll it out on a lightly floured piece of baking paper so you can easily transport that to the rimmed baking tray. Starting at the centre, roll it out thinner than you think, so the crust can really crisp up. You want to end up with a circle about 34cm in diameter. Dust the top lightly with flour and flip the whole crust over to prevent sticking later. Don’t fuss too much over the edges – craggy and irregular edges are what makes the finished product beautiful. Put it in the fridge until you’re ready to add the fruit.
For the filling:
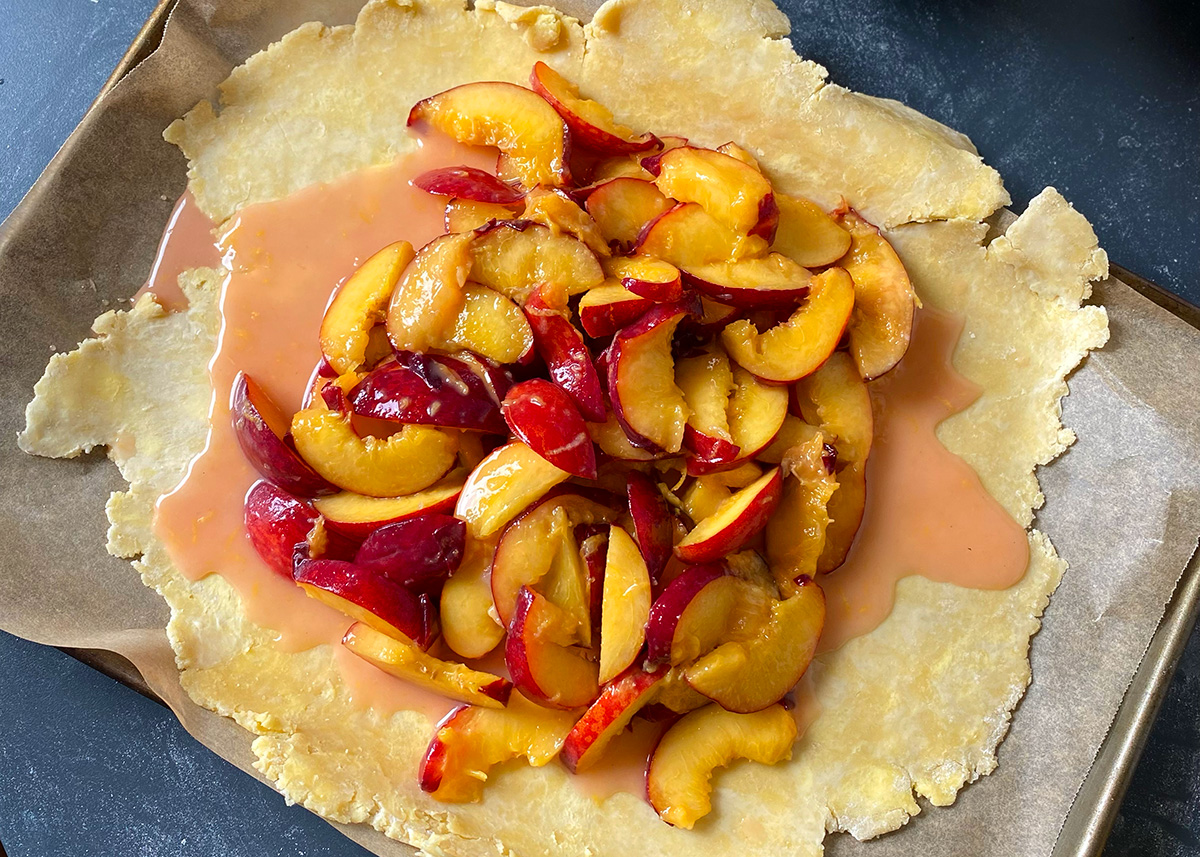
Toss the fruit with about sugar and cornflour. Add lemon zest and juice and gently mix the fruit until it’s all glossy and well coated.
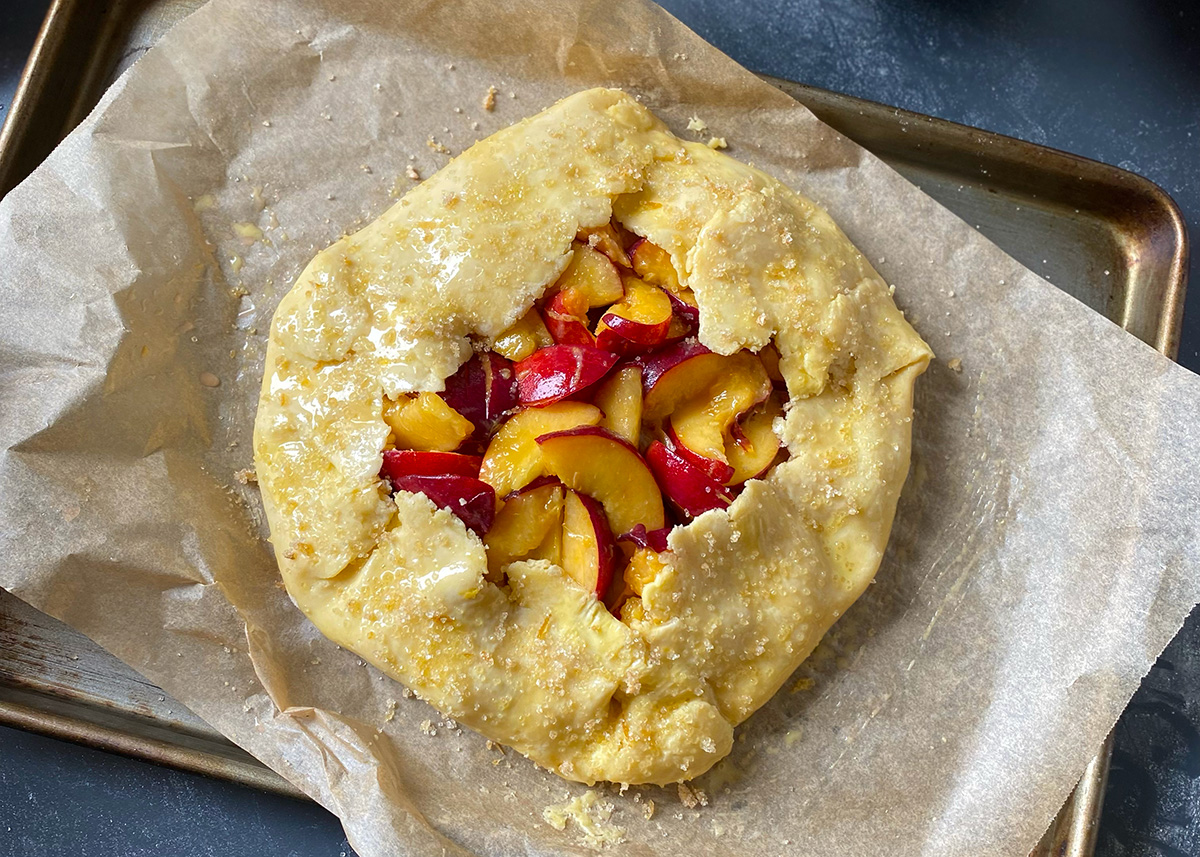
Pull the rolled dough out of the fridge and plop the fruit onto the dough, letting it pile on top of each other, leaving at least a 2” border. Gently but not preciously, fold the edges up and onto the fruit, overlapping as you need (use the baking paper to help handle the dough). The deepest of the craggy edges of the crust are where a lot of juices will escape (not that there’s anything wrong with that), but to limit the outpouring of juices, make sure they aren’t too deep and plug up holes.
Finishing touches:
Using a pastry brush (or maybe just your fingers), brush the dough with the egg wash and sprinkle the whole unbaked galette with the ginger and raw sugar mixture.
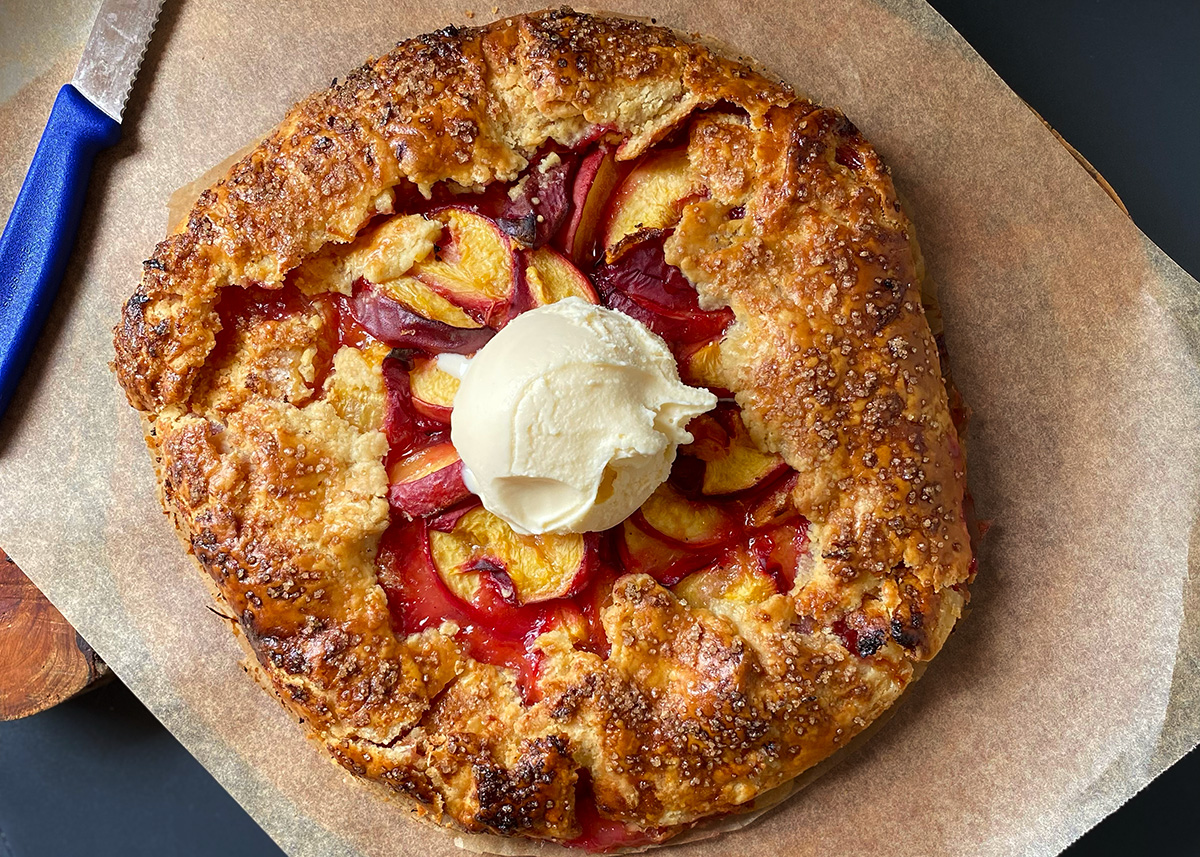
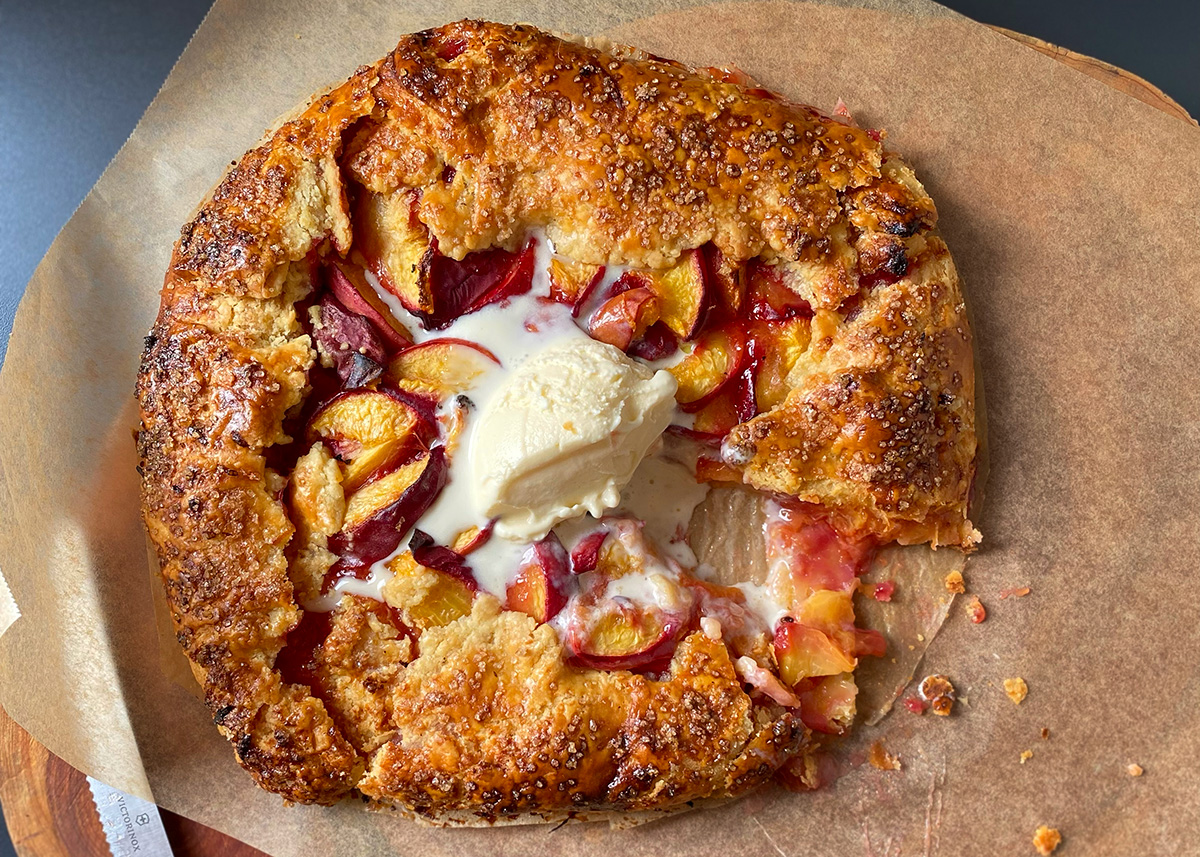
Bake galette at 190C° (fan forced) for approximately 60-70 mins. The crust should be deeply browned and feel strong when you tap on it. If it feels like it’s getting dark but the crust isn’t yet baked through, reduce the temperature to 170C° and continue to bake, peeking every so often but not too often.
The juices will have likely bubbled up and over the crust in places, if a leak has somehow sprung while baking, do not panic, it is not the end of the world. Above all: Do not try to fix it while it’s in the oven- let nature run its course. Allow the tart to cool for at least 15 mins so that the sauce thickens slightly. If you’re keen on a glossy look on the fruit, warm some apricot jam and brush it over.
When you’re ready, slice it up and serve with vanilla ice cream or double cream – divine!
Hints and Tips
This recipe is by Alison Roman

